SharePoint 2013 apps is one of the coolest feature which everyone wants to have a look into it. After a day or 2 , I managed to configure and install an app into my test site. Before I start looking into developing an app, I would like to record and share my experience in setting up the environment for apps in SharePoint 2013.
Step1 : Understand your environment setup
- Your Domain name (ex: sp)
- SharePoint DNS (ex: win-2j3idcdeuh6.sp.local)
- Apps DNS (ex: *.sp.apps.local)
- Web Application Url (ex: http://win-2j3idcdeuh6:46133)
- Have a separate SharePoint farm account instead of using the system account. (Note: System account cannot be used to purchase an app from the store. The process will fail with an error message – “Everything is fine, but we had a small problem getting your license. Please go back to the SharePoint Store to get this app again and you won’t be charged for it.”)
Step 2: Create a forward lookup zone for the app domain name
- Open the DNS manager
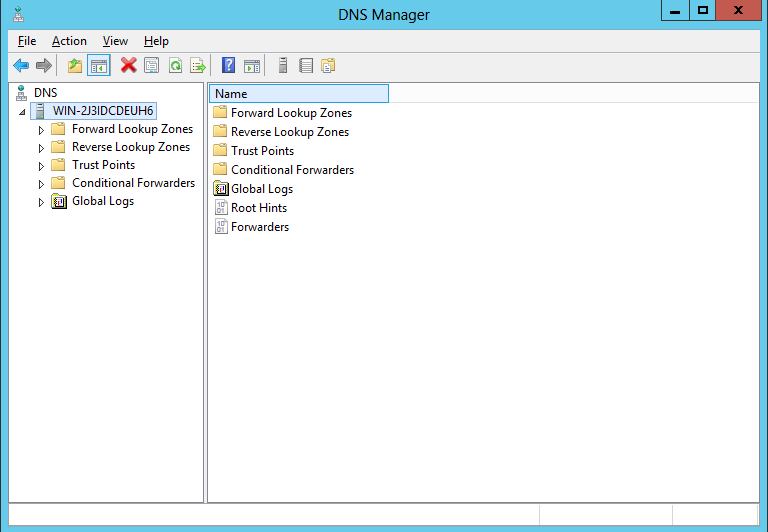
- Right Click Forward Lookup zones and create a new Zone. (Continue clicking Next until you see the below screen)
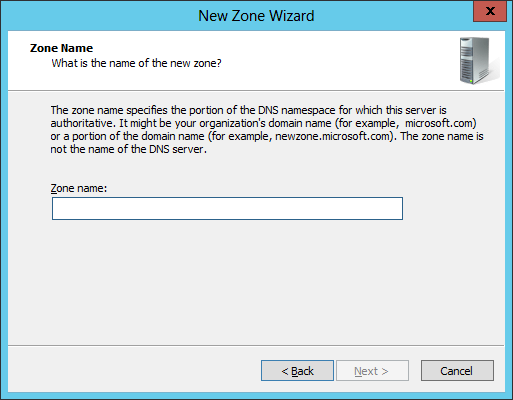
- Enter the Apps DNS name (ex: sp.apps.local) and click Next and complete the wizard flow with the default options.
- Right Click the new DNS name and then click New Alias (CNAME) and fill in as mentioned below.
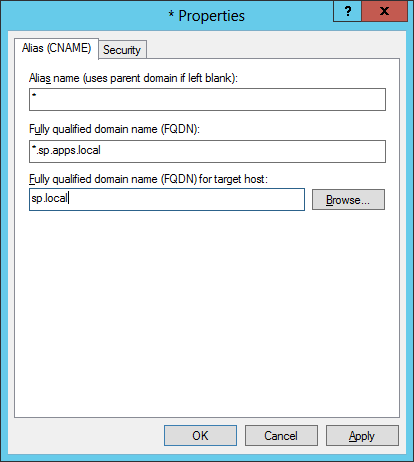
*Fully qualified domain name : Click Browse, Select the DNS Server -> Forward loopup zones -> Select the SharePoint site DNS (ex: sp.local) and then Select “(Same as the Parent folder)” option.
Step 3: Check the new domain name
- Verify that the user account that is performing this procedure is a local administrator on the domain controller.
- Click Start, and then click Command Prompt.
- At the command prompt, type ping followed by a subdomain of the domain that you created, and then press ENTER. For example, ping test.sp.apps.local
- If the ping command returns the correct IP address, then your wildcard for the domain name was configured successfully.
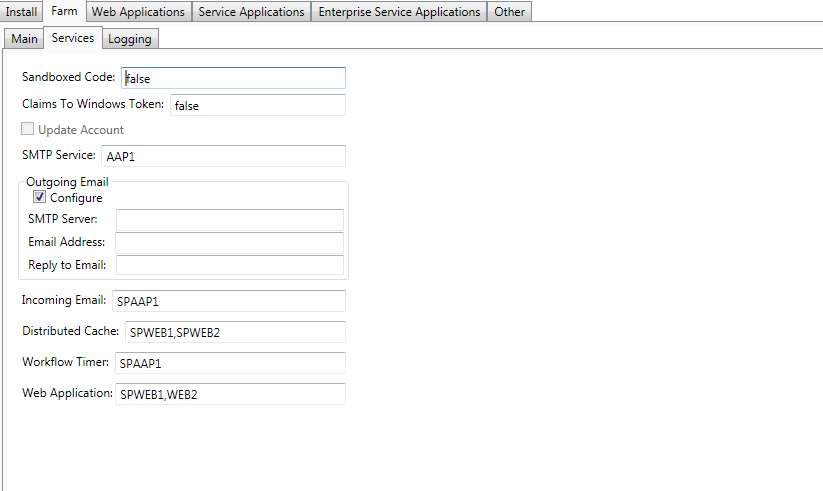
Step 4: Check and verify the following services are up and running as mentioned below.
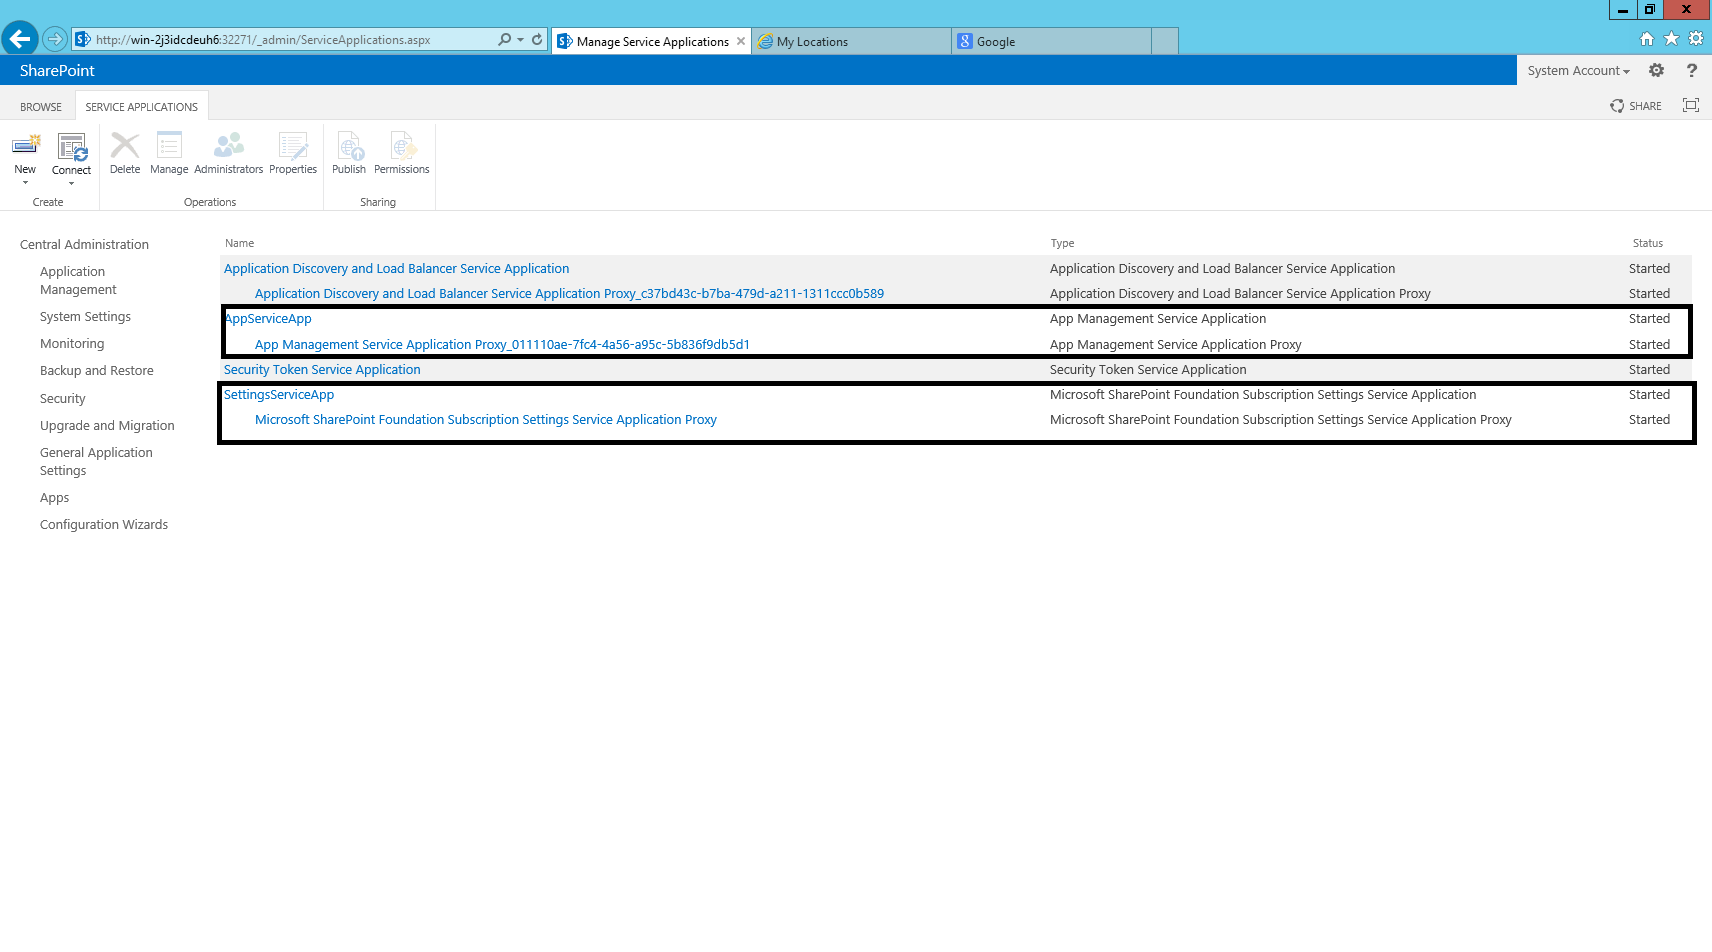
Step 5: Create the App Management Service and Subscription Service application using the below script
$account = Get-SPManagedAccount "<<farm account>>" # ex: sp\administrator
$appPoolAppSvc = New-SPServiceApplicationPool -Name AppServiceAppPool -Account $account

$appAppSvc = New-SPAppManagementServiceApplication -ApplicationPool $appPoolAppSvc -Name AppServiceApp -DatabaseName Appmanagement_Service_DB
$proxyAppSvc = New-SPAppManagementServiceApplicationProxy -ServiceApplication $appAppSvc

$appSubSvc = New-SPSubscriptionSettingsServiceApplication –ApplicationPool $appPoolAppSvc –Name SettingsServiceApp –DatabaseName SubscriptionSettings_Service_DB
$proxySubSvc = New-SPSubscriptionSettingsServiceApplicationProxy –ServiceApplication $appSubSvc
Step 6: Configure the App Urls
- Go to the CA screen
- Click Apps and Click “Configure App urls” link in the App Management section and complete the form with the following details. (App Domain : <<App Domain name>> (ex: sp.apps.local), App Prefix: <<prefix name in the url>> (ex: spapps))

Step 6: Create a App Catalog site
- Go to the CA
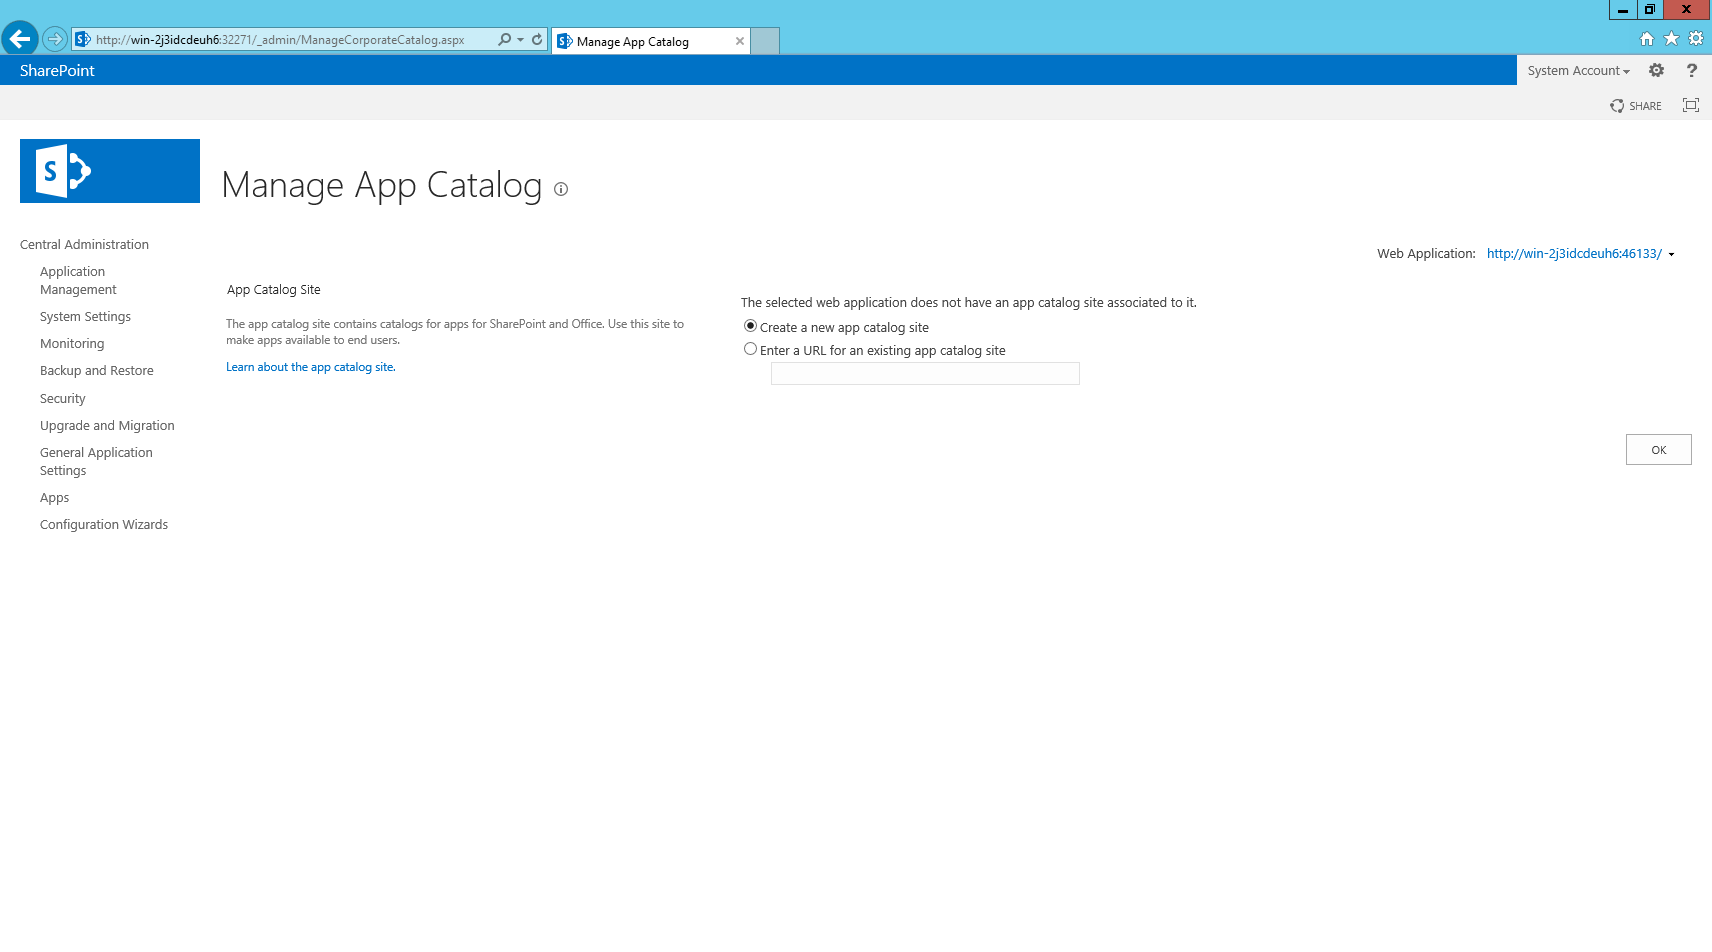
- Click Apps -> App Management -> Manage App Catalog -> Select a web application (right top corner)

- Click OK to create a new Catalog
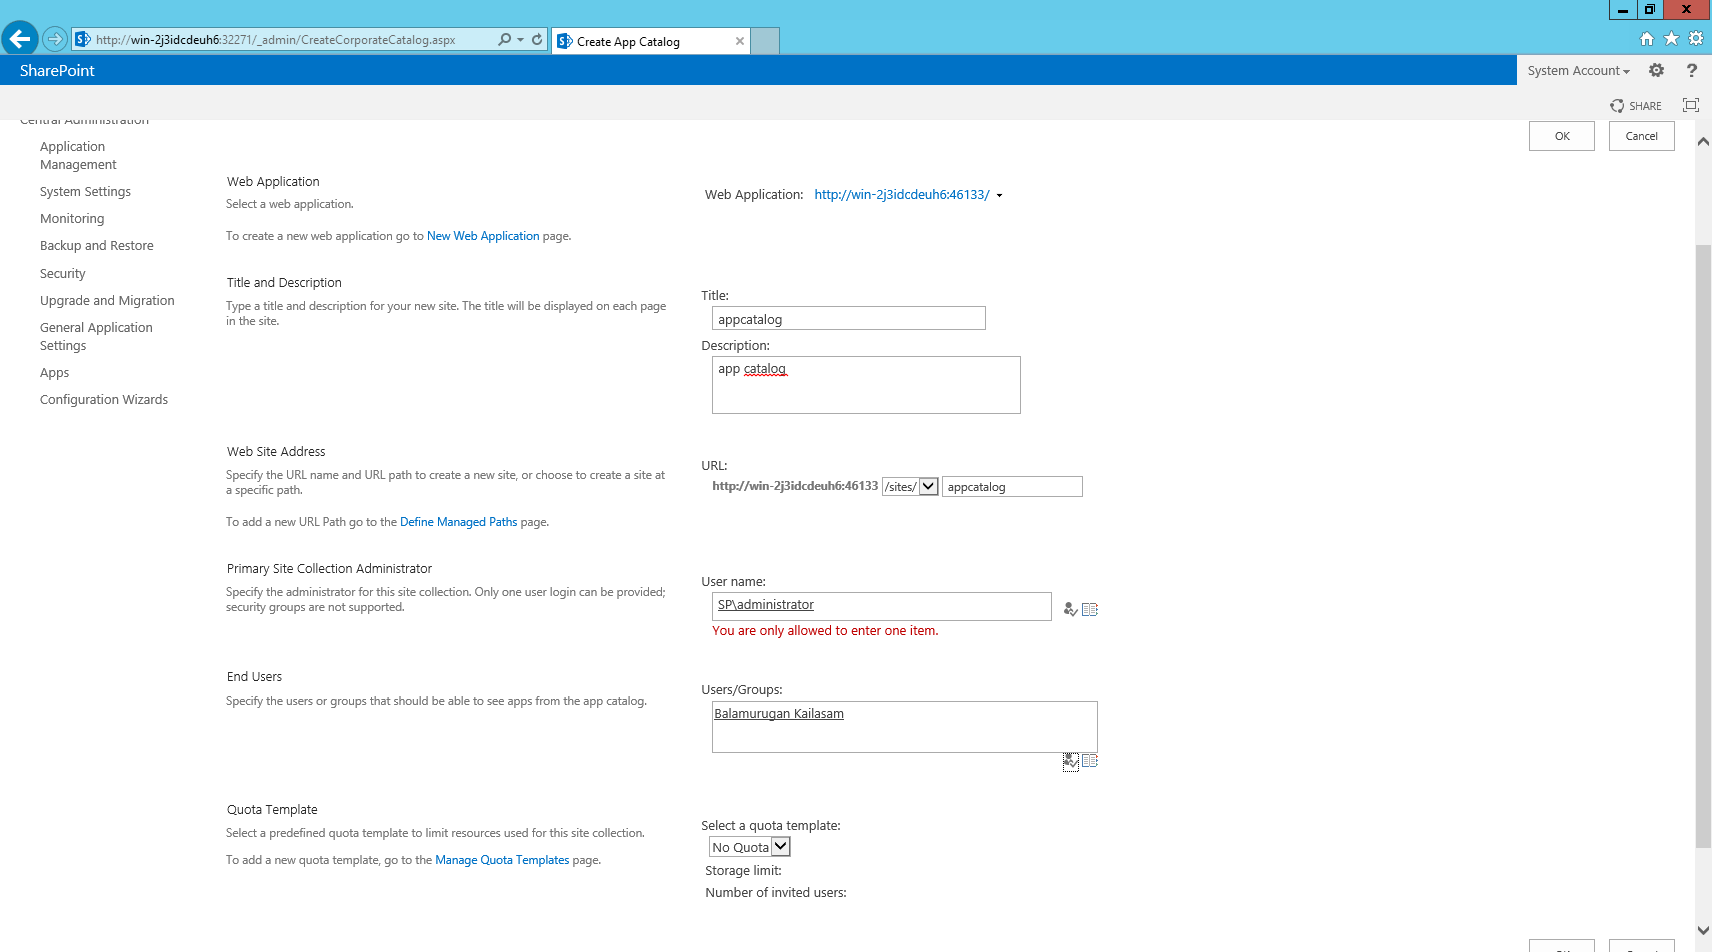
- Click ‘OK’ to complete the app catalog site creation
.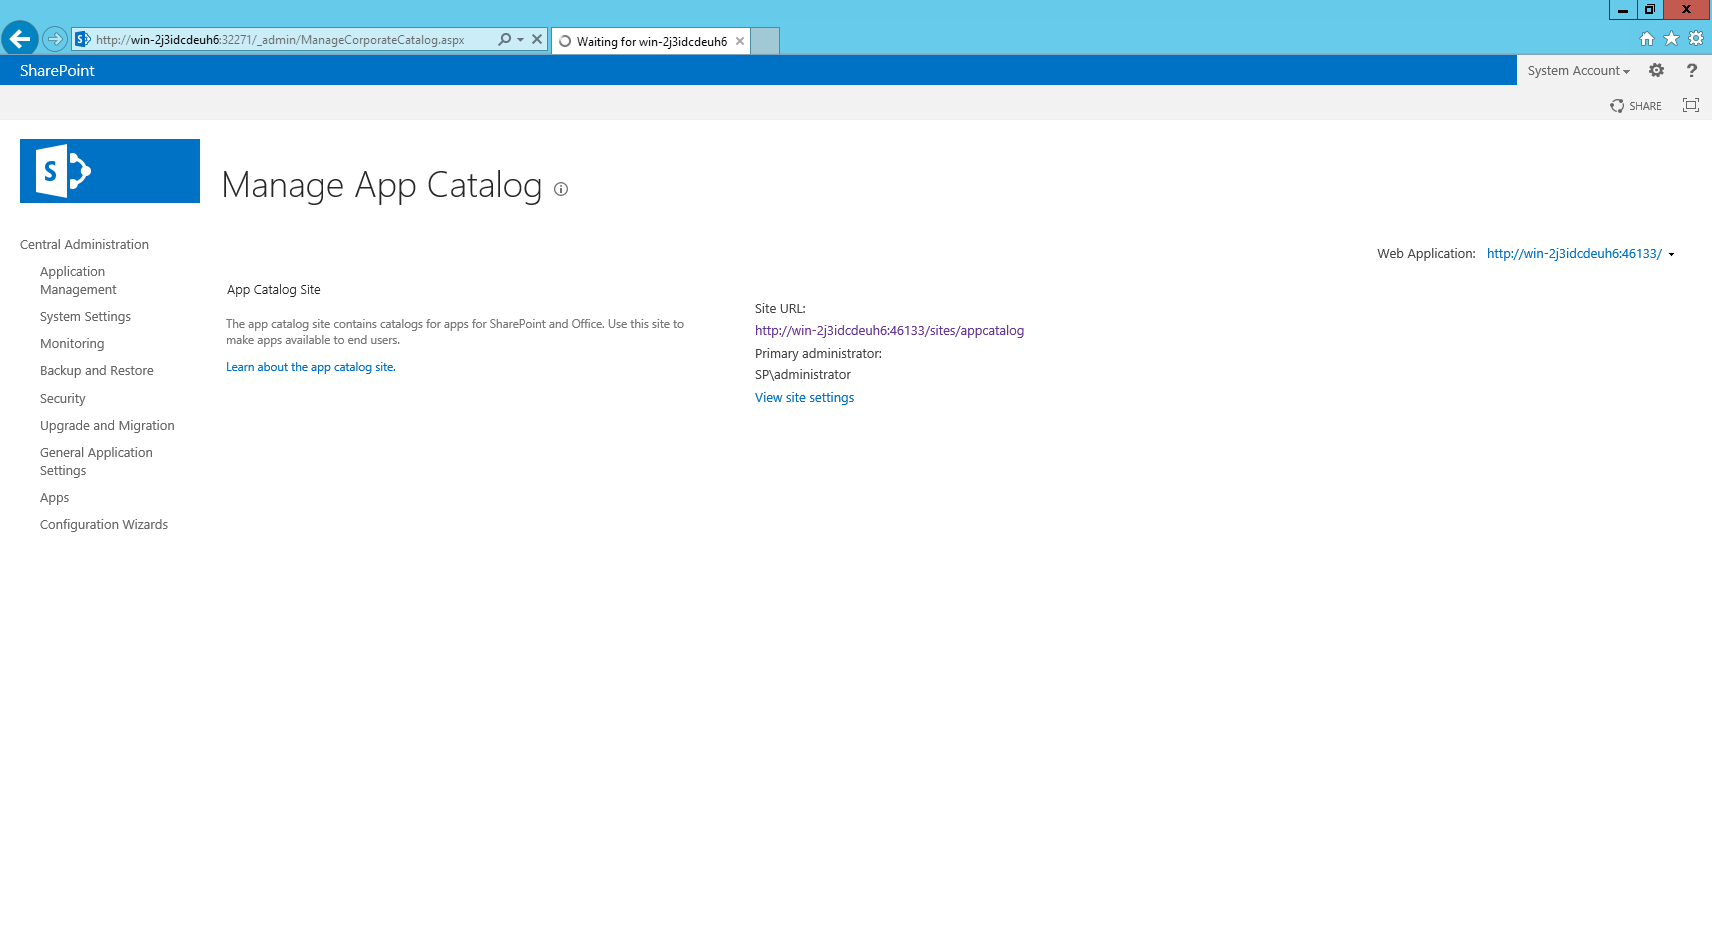
Step 7: Go to the catalog app site by clicking the url from the above page. (ex: http://win-2j3idcdeuh6:46133/sites/appcatalog)
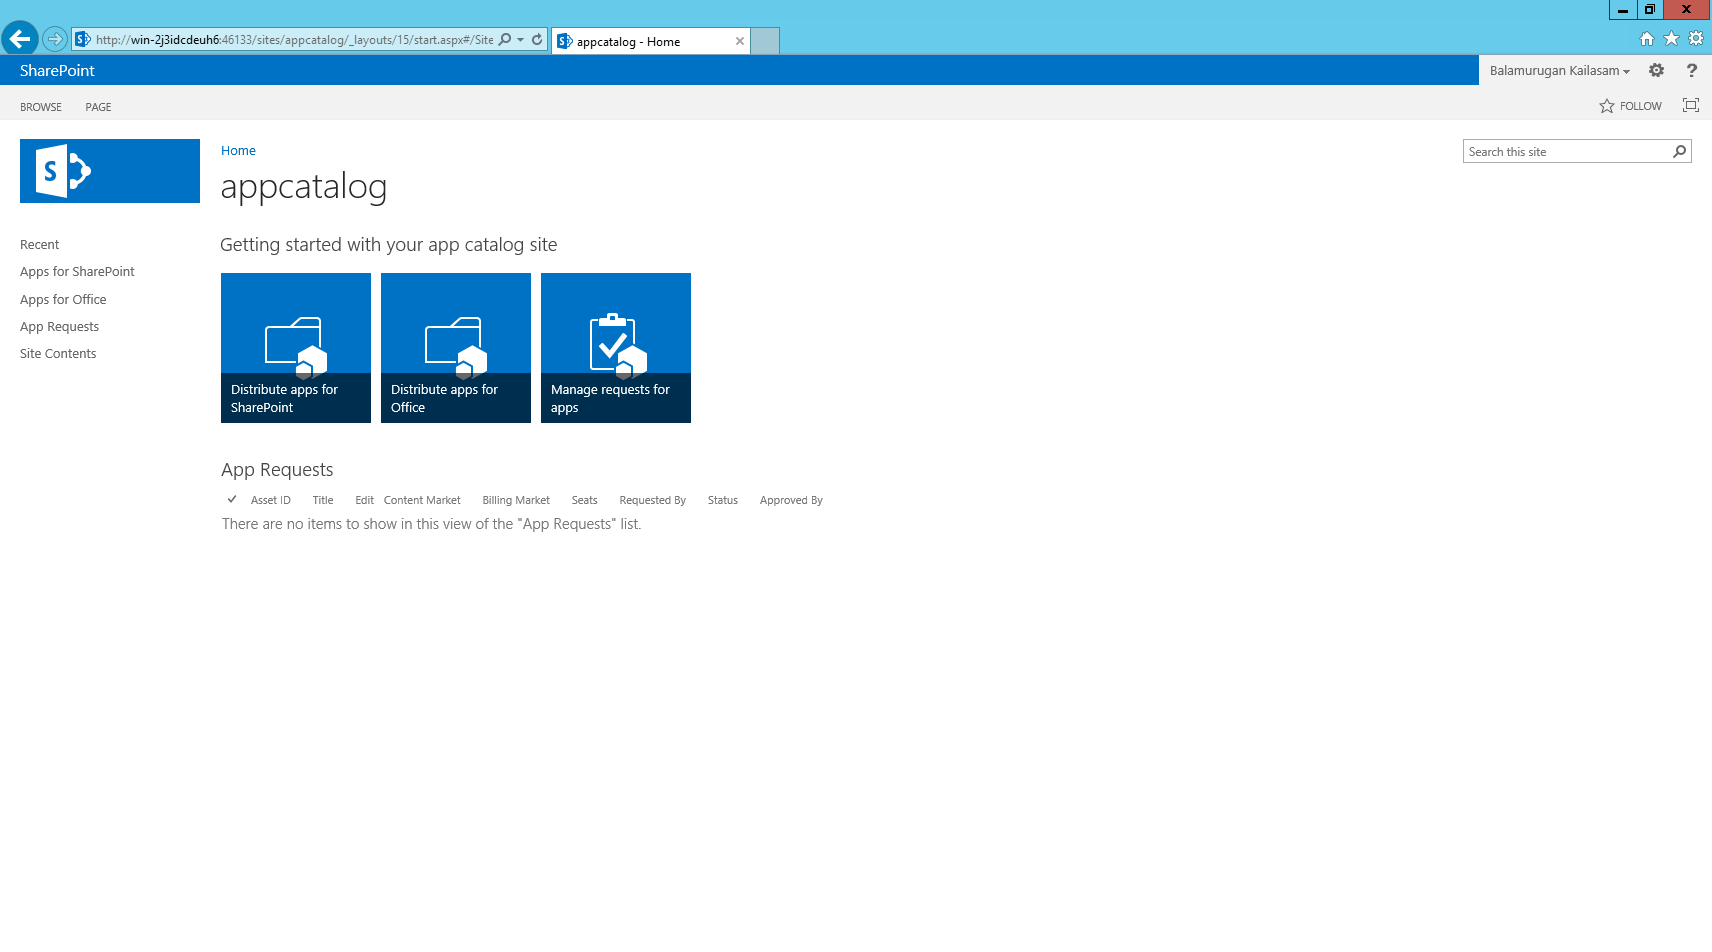
Right – we have the catalog site to host our apps. We will see about hosting an app in the catalog in the next blog. So in this one, we will purchase some free app and see how it works.
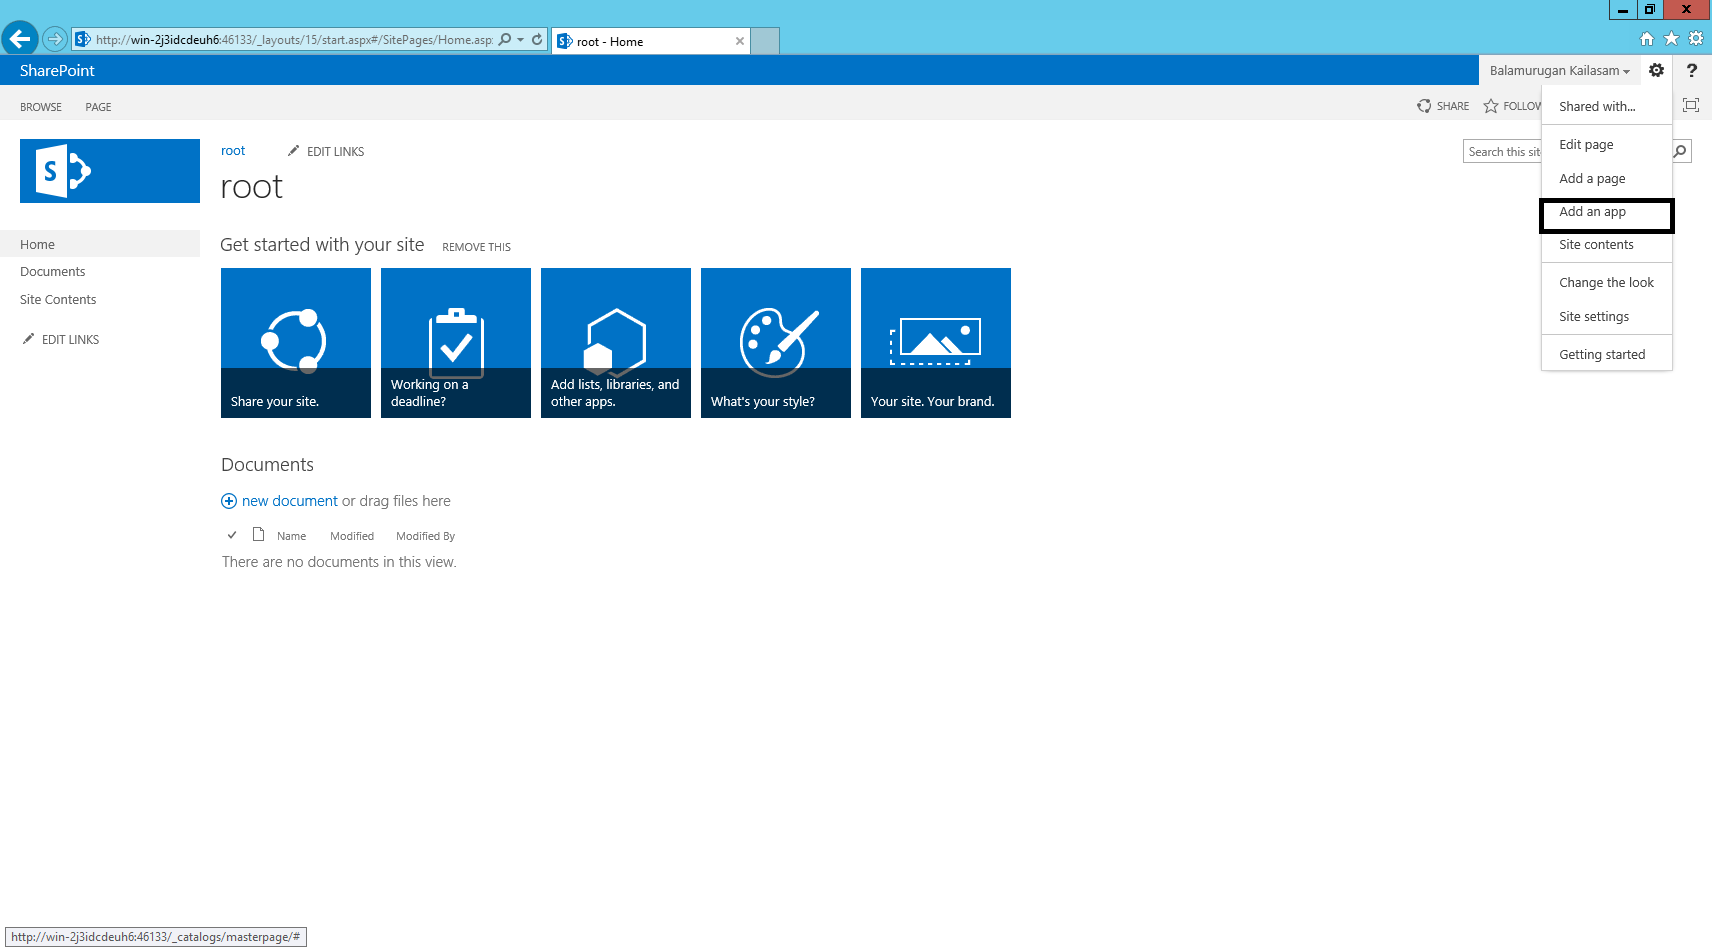
Step 8 : Add an app into a site
- Go to a site (ex: http://win-2j3idcdeuh6:46133/ -> team site) and click “Add an App” option as mentioned below.
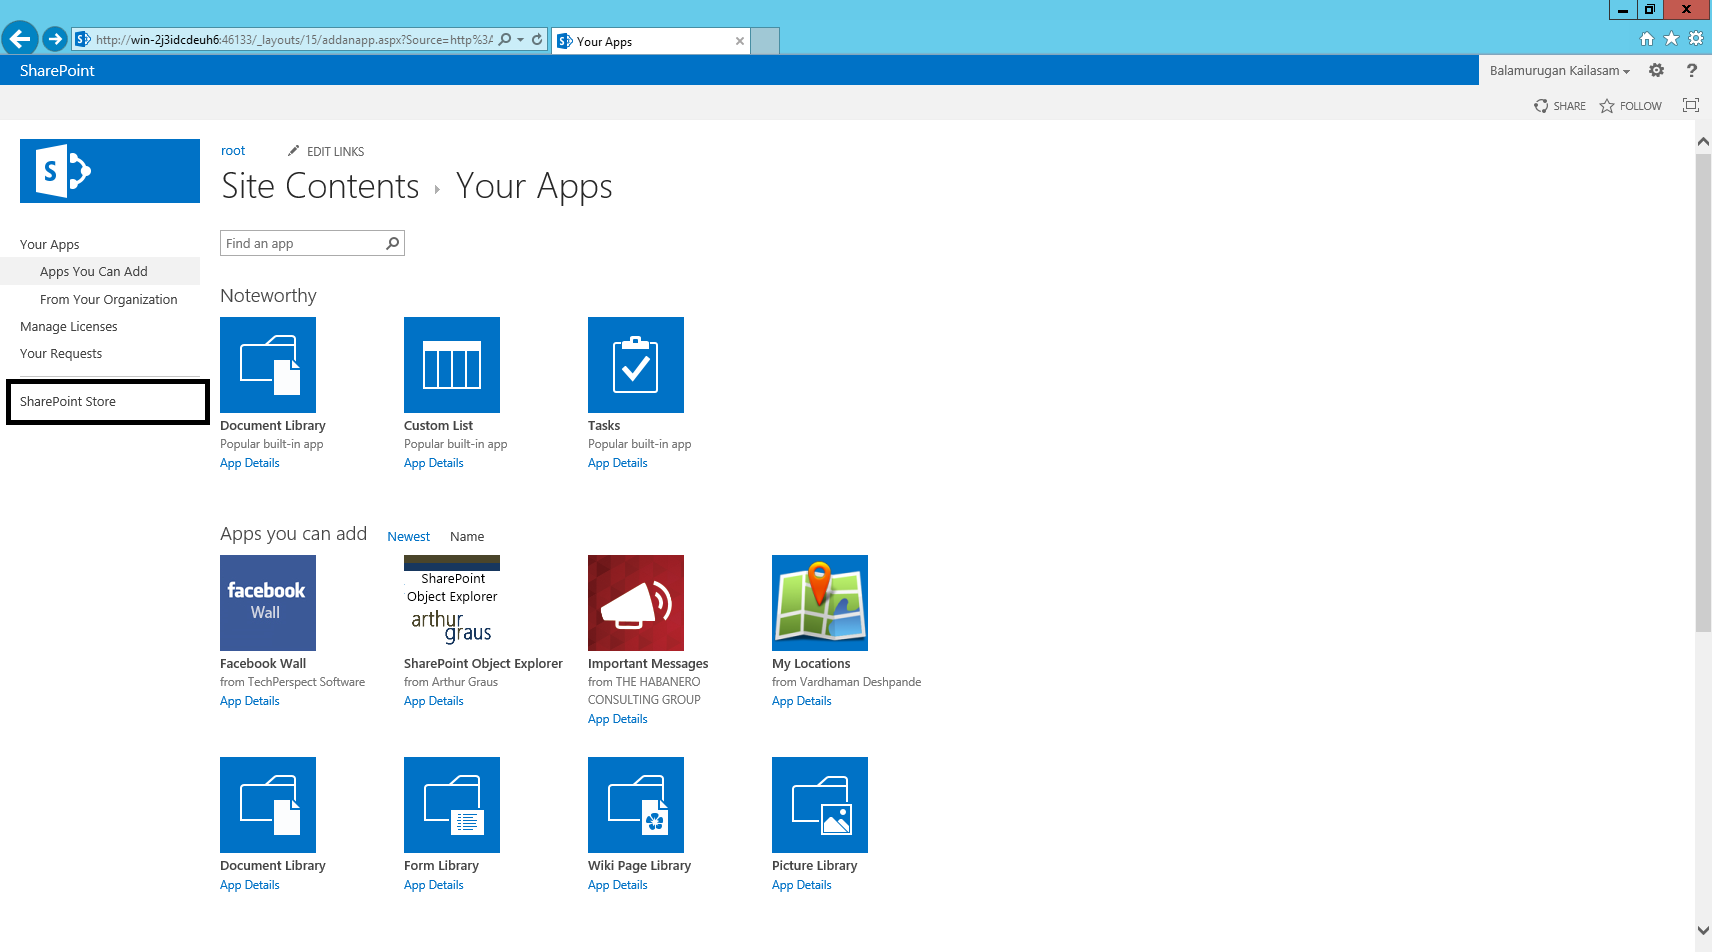
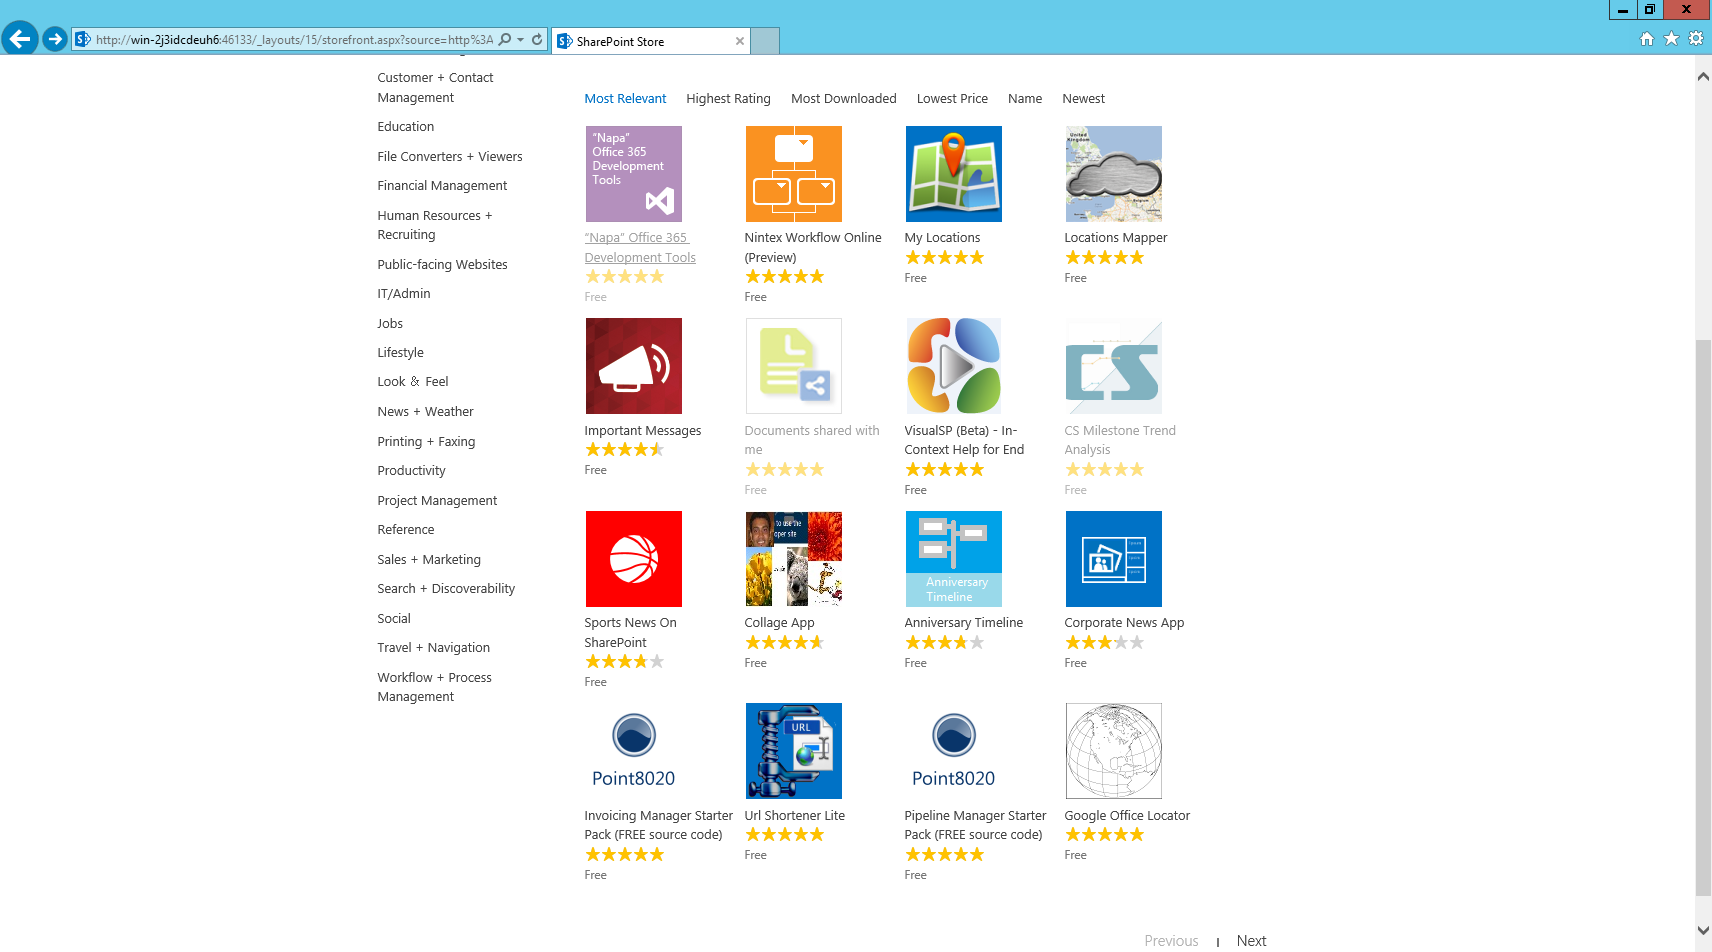
- Click “SharePoint Store” to purchase an app
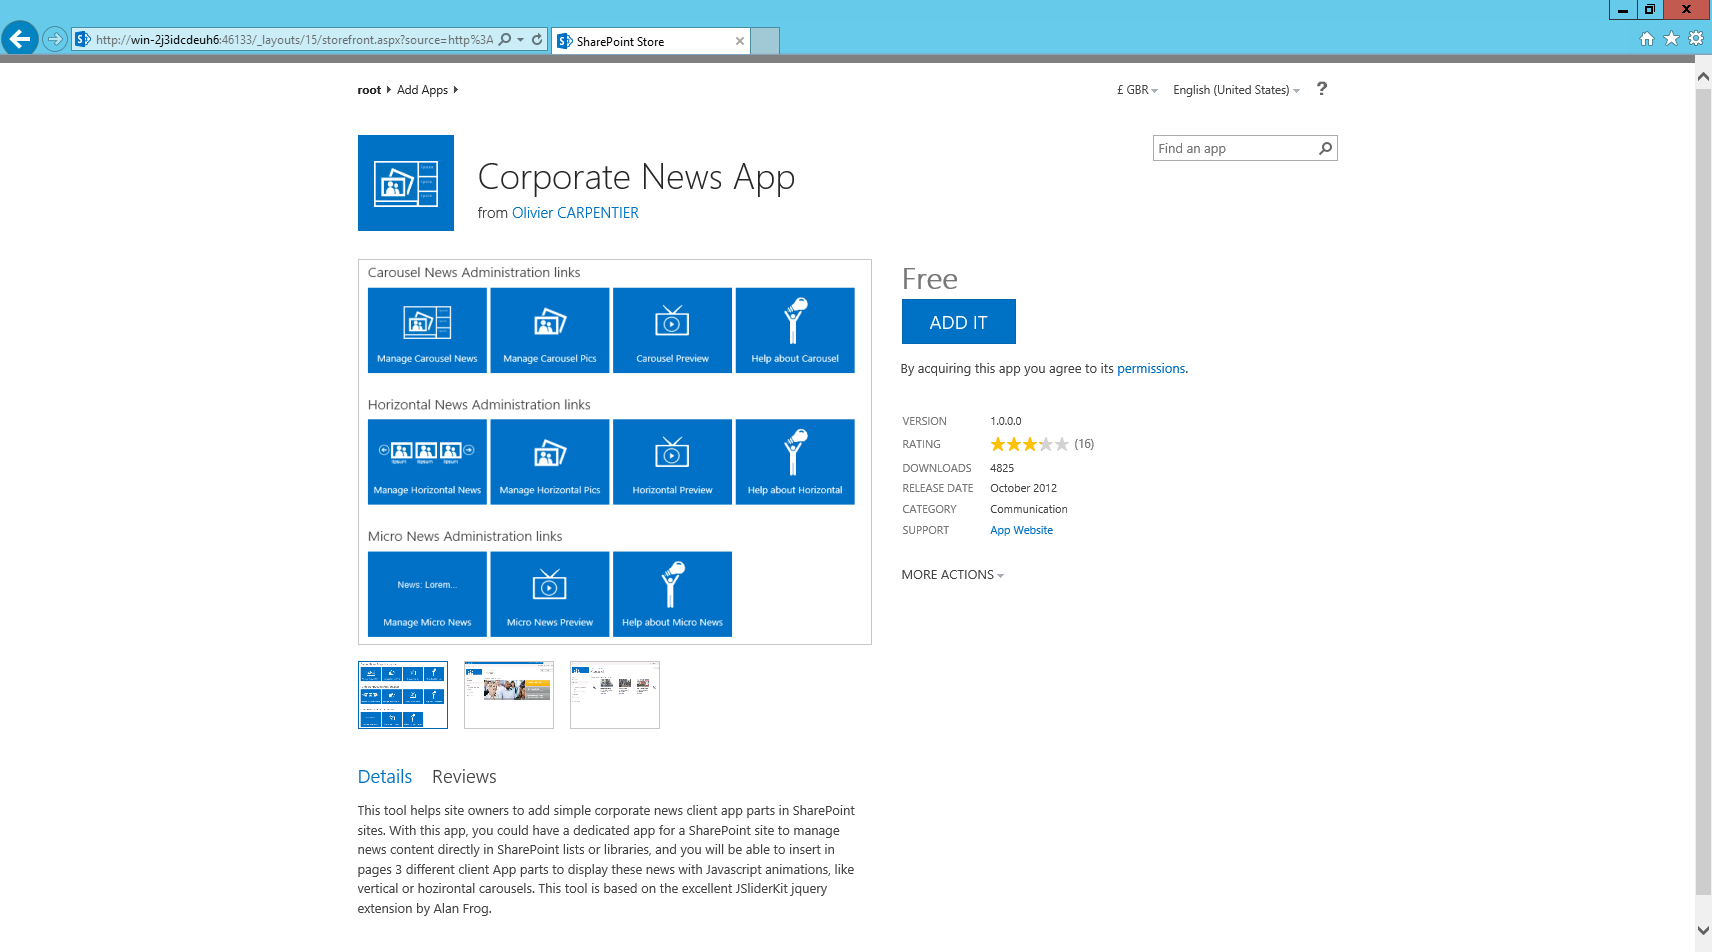
- Click “Corporate News” app.
- Click “Add”
- Login with your credential
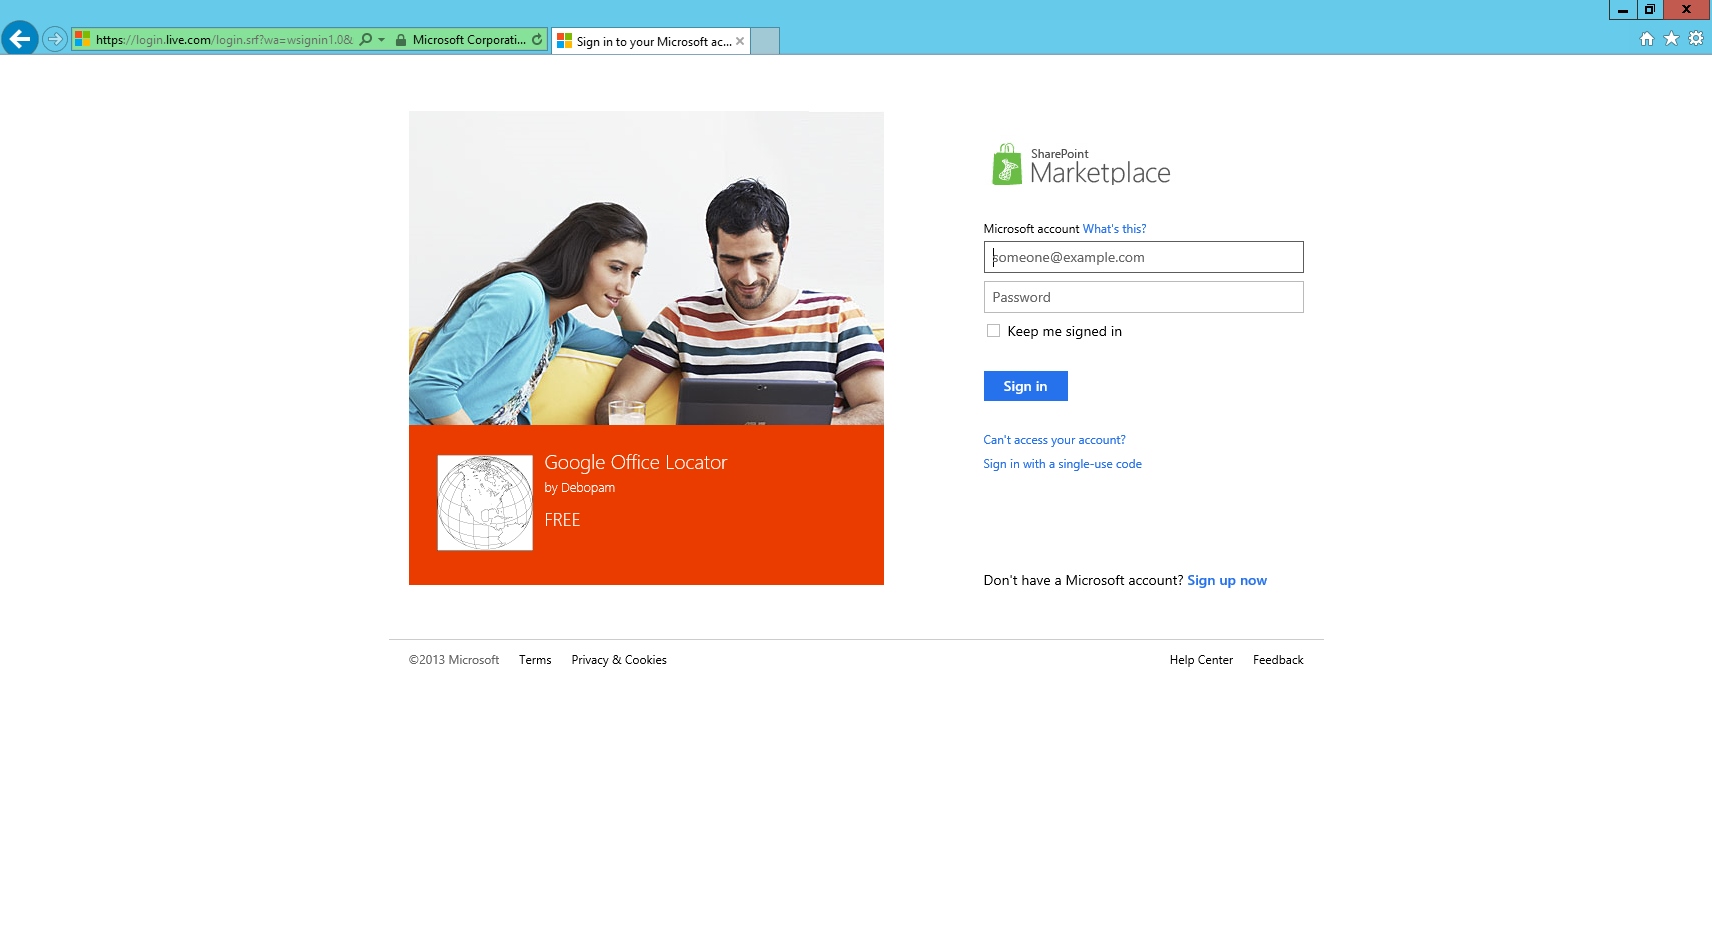
- Sign In with a valid credentials

- Click “Return to Site”
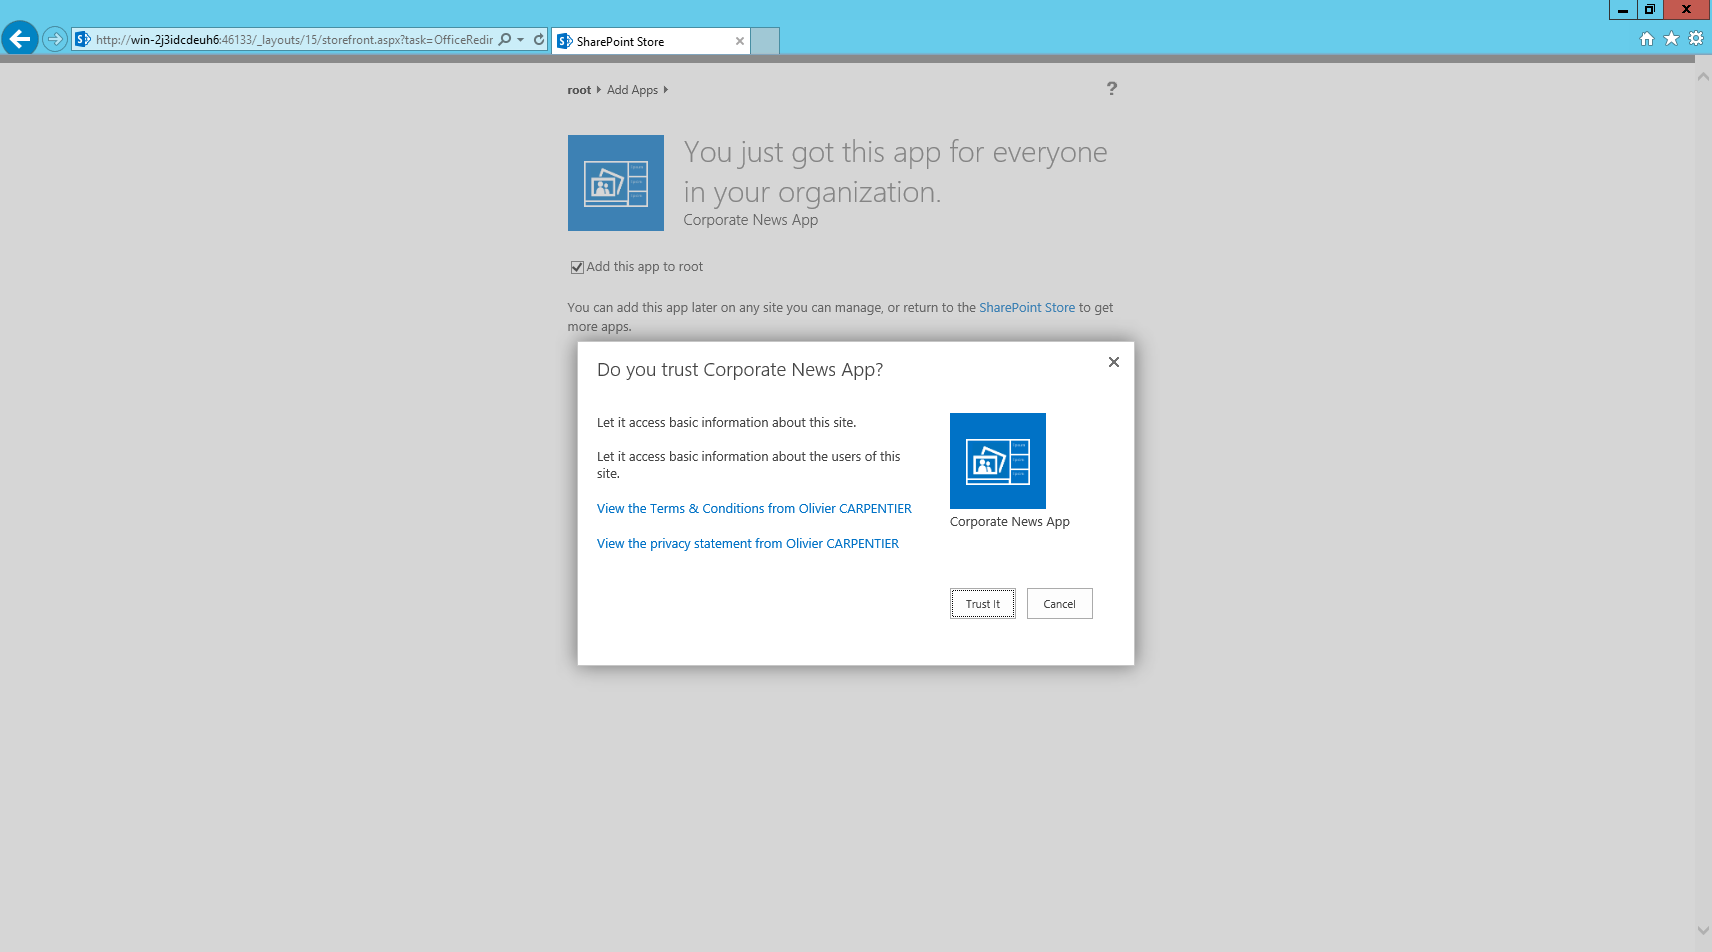
- Click “Trust It”
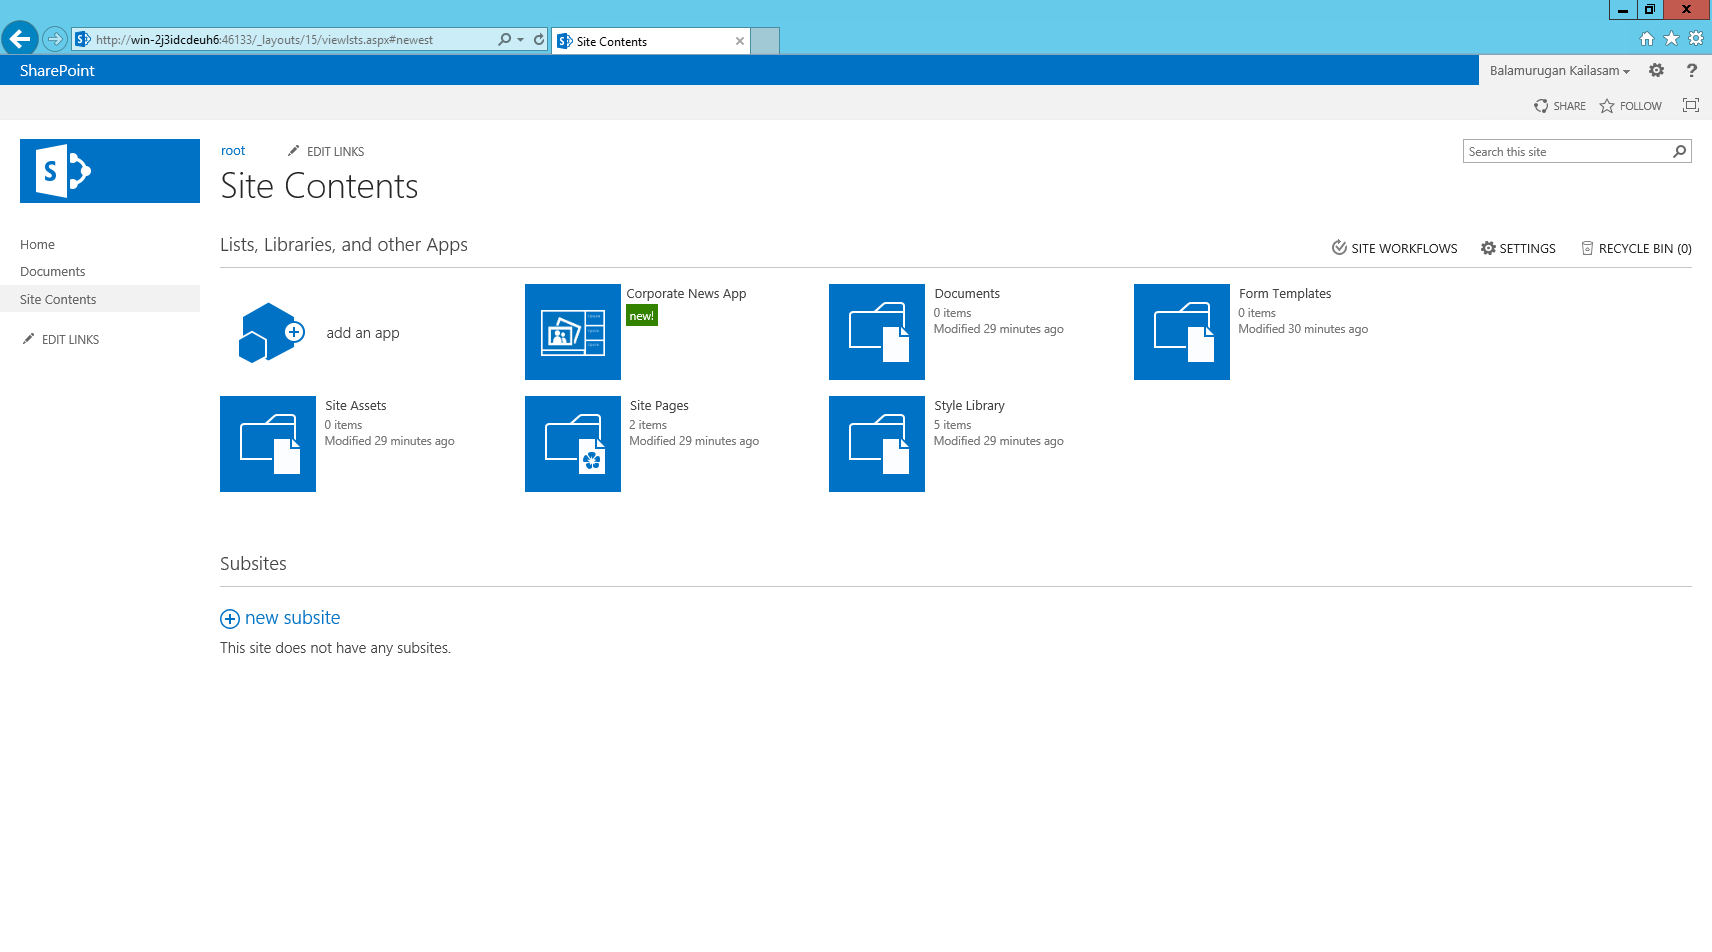
- Got the app now. Click the “Corporate News App” to use it.
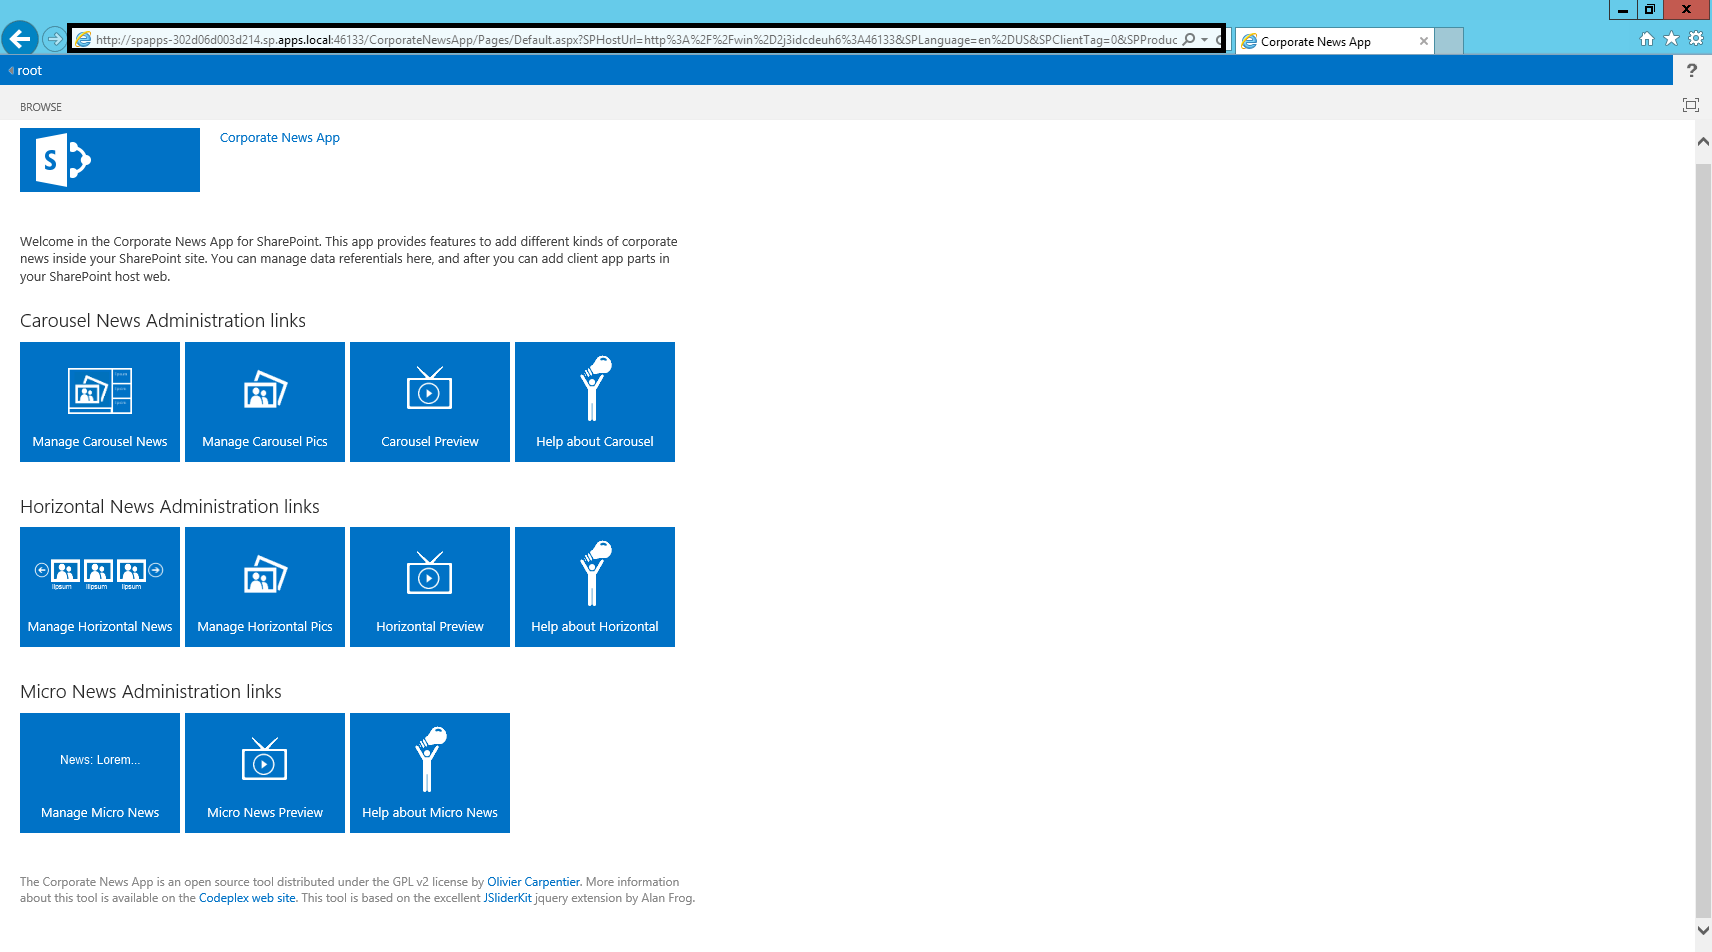
- Note: The app is hosted in the app DNS (ex: sp.apps.local prefixed with spapps)
(Visited 1,055 times, 1 visits today)